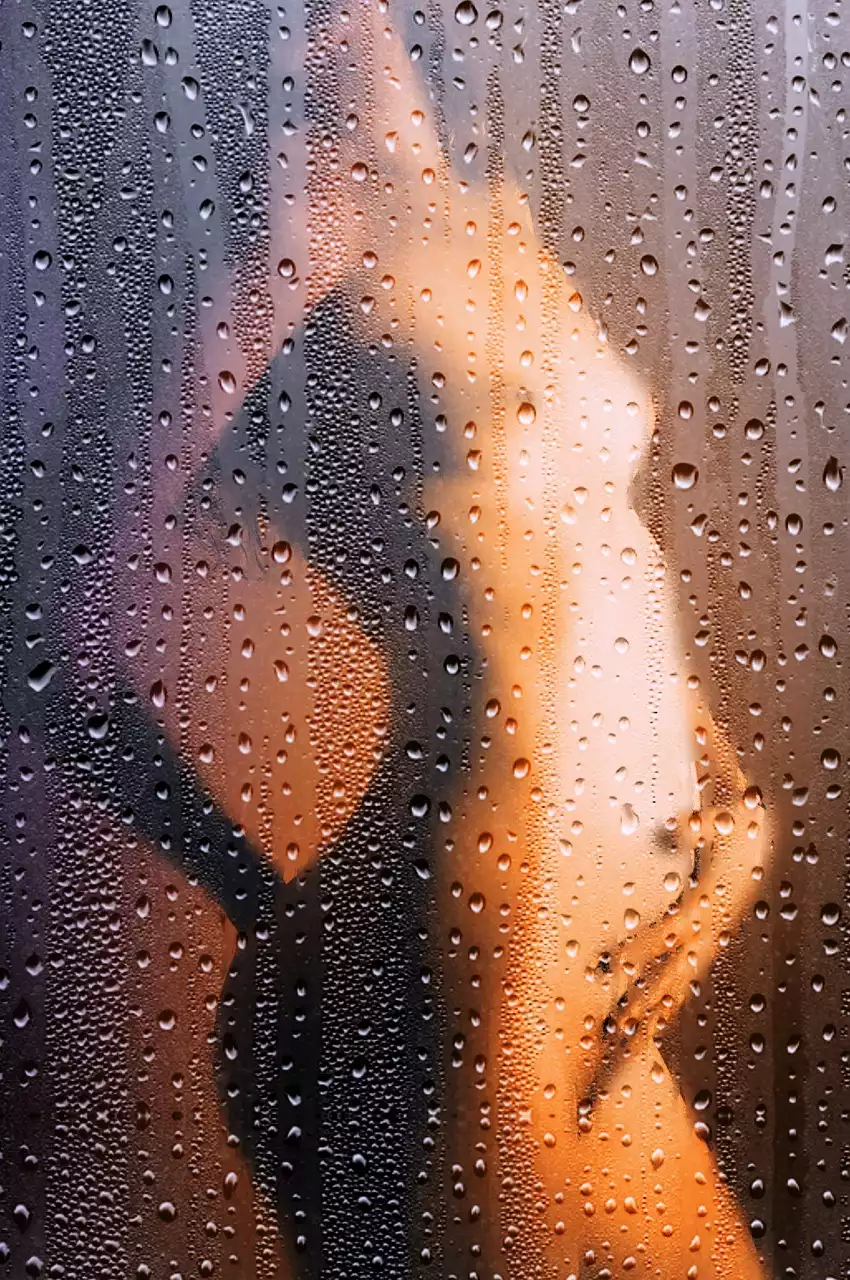
Silhouettes are one of the easiest techniques to master in photography. They offer a dramatic, edgy and abstract feel to your photos all you need are black, white and red props to get started on your eerier shots. To create a silhouette effect, you need to capture your subject against sunlight (in the evening or early morning) when there is no light coming directly at them. You should also avoid using flash because it will spoil the effect you’re looking for. If you want to know how to create silhouettes in your photographs, keep reading.
Equipment
When photographing a silhouette, it’s important to use the right equipment. Since you’ll be shooting your subject in the sunlight, you’ll need to use a lens with a wide aperture to let as much light in as possible. A wide aperture will also give your subject a great blurred edge. A lens with a maximum aperture of f/2.8 or lower is the best option for creating silhouettes. Zoom lenses are typically better for creating silhouettes since they have a wider aperture than lenses with a fixed focal length. Because you’ll be shooting with a large aperture, you should also use a tripod to avoid camera shake. Even if you have a tripod, you’ll also want to use a remote to minimize the amount of vibration from your shutter.
Planning your shot
If there’s one thing to take into account before taking your shot, it’s the time of day. You want to shoot towards the end of the day, ideally at dusk or in the early hours of the morning. You want the sky to be completely dark, but you also want the sun to be high enough in the sky to be behind your subject. To get the most dramatic effect, you also want to make sure you have something in the foreground of your shot. It could be a person, an object or even just some grass. If you want to use your subject as the foreground, you’ll want to make sure they are standing in a place where the sunlight is coming from behind them.
The 6 steps of creating silhouettes
- Choose your subject - Before you start shooting, you need to decide what your subject will be. Once you have your subject, you can decide where to shoot, what props you’ll use and what time of day you’ll be shooting.
- Find a background - When it comes to the background, you have a few options. You can use a plain white wall or a landscape. You can also use a building, but make sure it’s a dark colour.
- Set up your props - Now that you have your subject and background picked out, you’ll want to pick your props. You want to stick with a theme that uses black, white and red.
- Set your camera settings - Before you start shooting, you’ll want to make sure you have your camera settings ready. You want your shutter speed to be as fast as possible without making your photo blurry.
- Shoot your photo - Once everything is set up, it’s time to start shooting. Take a few test shots to make sure you have everything in the frame.
- Edit your photo - After you’ve taken your photo, you’ll want to edit it. There are a few things you can do to enhance your silhouette photo.
Tips to create the best silhouette effect
- Find the right location - When it comes to picking the right location, the first thing you should do is look for a wall or building with a dark colour. If you can’t find a building in a dark colour, you can always paint a wall black.
- Pick the right subject - While it’s important to find the right background and props, don’t forget about your subject. You want to make sure your subject is something dark enough to produce a great silhouette effect.
- Pick a prop that’s close to your subject - If you use a prop, it needs to be close enough to your subject so the viewer can identify what the prop is. If you use a prop that is too far away from your subject, it won’t be as effective. - Use a neutral-coloured backdrop - When it comes to your background, you want to make sure it’s a neutral colour. A neutral colour helps draw attention to your subject and helps create the silhouette effect.
- Shoot during the golden hours - The golden hours are the hours just before sunrise and just after sunset. During these hours, there’s not enough light to create silhouettes, but there’s plenty of light to create beautiful photos.
Conclusion
Silhouettes are one of the easiest photography techniques to master, and they can be done in a wide variety of situations. You can create silhouettes in the city with buildings, or the forest with trees. If you want to create an even edgier look, you can use black and red as your only colours. While it’s important to have the right equipment, it’s also crucial to have the right location. If you follow these steps, you’ll be able to create beautiful, dramatic photographs. Silhouettes are a great technique to use if you want to try something new with your photography.

 The Top High-Resolution Headset on the Market
 A Guide to Different Percussion Instruments
 The Best Places to Play Pokemon
 Tips for Starting Collecting Records
 Reflection Photography - Creative Effects
 Photography Effects - Light Painting
 For Creative Effects try Infrared Photography
 Experiment With Bokeh for Stunning Effects